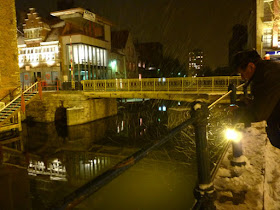
 The blowing snow got in the way! I took lots of photos of the travelling snowflakes, under various wind conditions. The ones that look like lines of machine stitching are my favourites - but rather dark. So let's see what can be done with Photoshop. Here's the original -
.jpg) First, my usual adjustment - Levels, to get the photo brighter -
First, my usual adjustment - Levels, to get the photo brighter -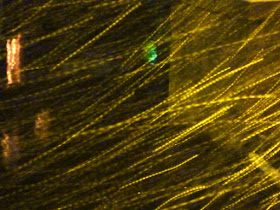levels.jpg) No, now it's tooooo yellow.
No, now it's tooooo yellow.This is what happens with one click, Autocolour -
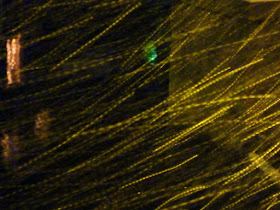autocolour.jpg) At the time I didn't think to try adjusting the lighting on the camera (it was cooooold...!), so maybe Greyscale will be the answer? -
At the time I didn't think to try adjusting the lighting on the camera (it was cooooold...!), so maybe Greyscale will be the answer? -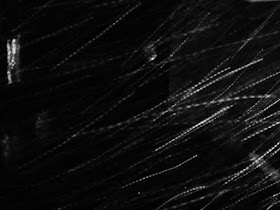grey100br&c.jpg) No, too dark. Back to the original...
No, too dark. Back to the original...Couldn't resist trying the Invert tool -
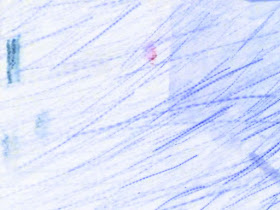invert.jpg) Those colours give much more of a "snowy" feeling than black and yellow! (But I'd like to pick up those three blobs on the left and move them a little to the right...)
Those colours give much more of a "snowy" feeling than black and yellow! (But I'd like to pick up those three blobs on the left and move them a little to the right...)With the Selective Colour tool, you can adjust each colour separately - this has been adjusted for yellow and the settings are magenta -25, yellow -50, black -75:
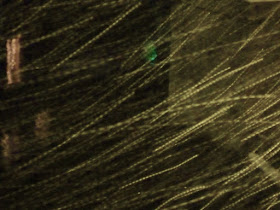m25y50black75.jpg) You get much the same effect with one click, using Vibrance:
You get much the same effect with one click, using Vibrance: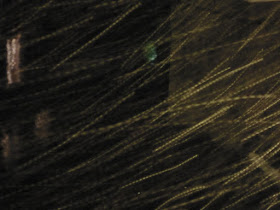vibrance-100.jpg) and to get it lighter, adjust Brightness (here it's -100; max setting is -150):
and to get it lighter, adjust Brightness (here it's -100; max setting is -150):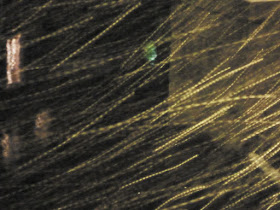vibBr100.jpg) What I've found with these experiments, many of which aren't shown here, is that there's certainly more than one way to skin a cat in Photoshop.
What I've found with these experiments, many of which aren't shown here, is that there's certainly more than one way to skin a cat in Photoshop.After our photography (the temperature dropped to -10, we learned later), we went to the pub -

Loved those lines. I can understand your fascination. Hope that the rest of your time in Ghent was enjoyable. Happy 2010.
ReplyDeleteI can see black discharge fabric, bleach dribbled along...... stitches.... great inspiration.
ReplyDelete